简介
ZooKeeper 是 Apache 软件基金会的一个软件项目,它为大型分布式计算提供开源的分布式配置服务、同步服务和命名注册。
ZooKeeper 的架构通过冗余服务实现高可用性。
Zookeeper的设计目标是将那些复杂且容易出错的分布式一致性服务封装起来,构成一个高效可靠的原语集,并以一系列简单易用的接口提供给用户使用。
一个典型的分布式数据一致性的解决方案,分布式应用程序可以基于它实现诸如数据发布/订阅、负载均衡、命名服务、分布式协调/通知、集群管理、Master选举、分布式锁和分布式队列等功能。
从字义上解释就是“动物管理员”。ZooKeeper是一种集中式服务,用于维护配置信息,命名,提供分布式同步和提供组服务。
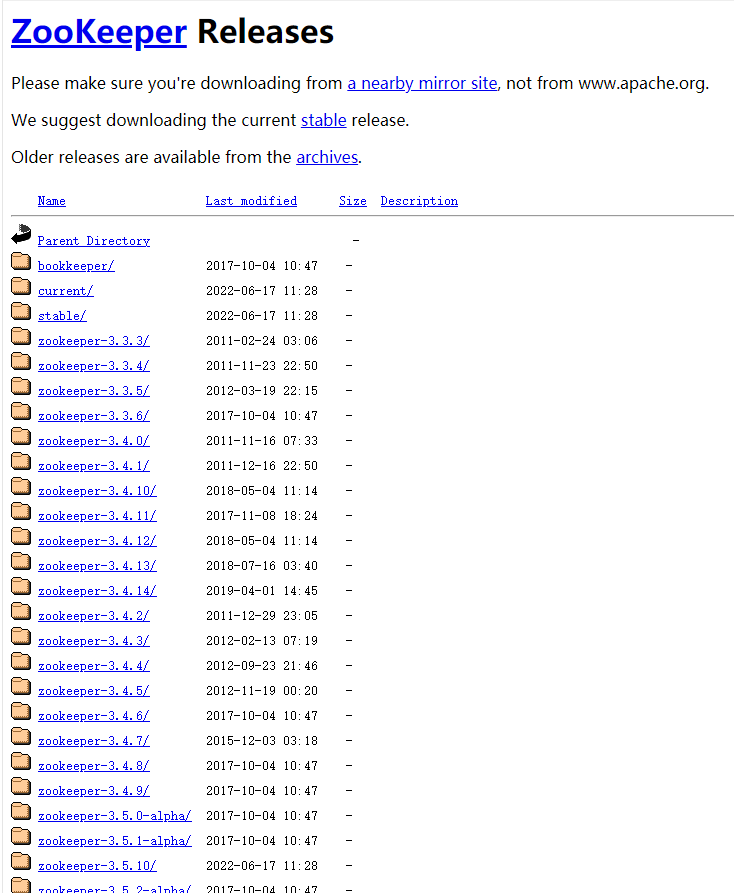
Linux下安装 zookeeper
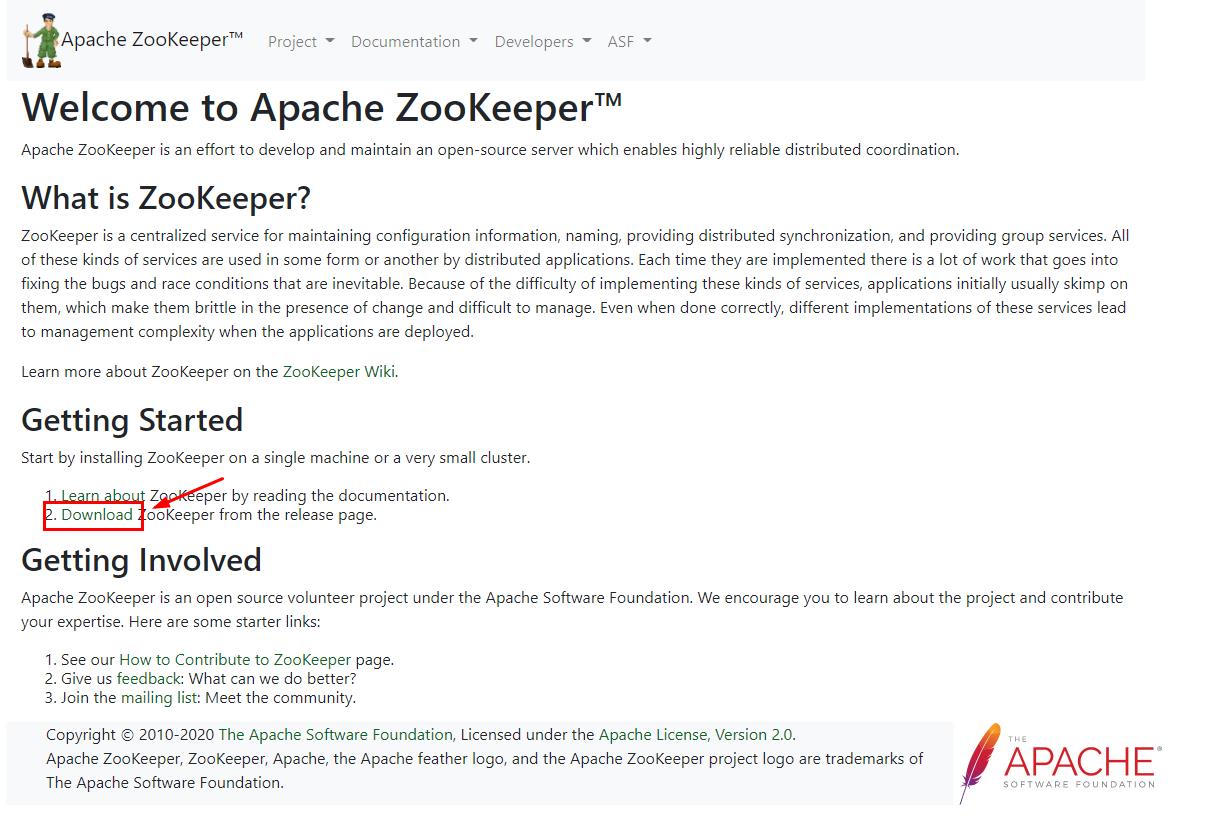
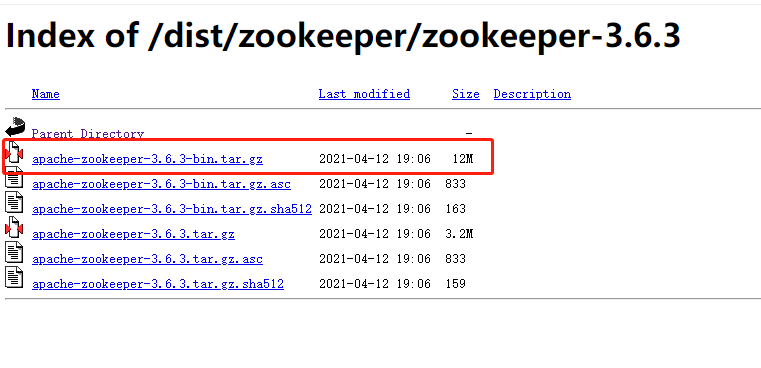
第一步:下载安装包

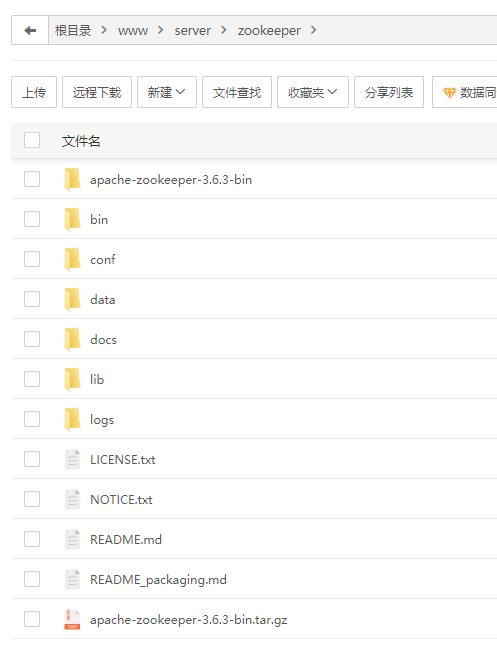
第二步:安装包上传到服务器解压
第三步:新建
data、logs 两个文件夹
第四步:配置
进入conf文件夹复制 zoo_sample.cfg 文件 命名为zoo.cfg
# The number of milliseconds of each tick
tickTime=2000
# The number of ticks that the initial
# synchronization phase can take
initLimit=10
# The number of ticks that can pass between
# sending a request and getting an acknowledgement
syncLimit=5
# the directory where the snapshot is stored.
# do not use /tmp for storage, /tmp here is just
# example sakes.
dataDir=/www/server/zookeeper/data
dataLogDir=/www/server/zookeeper/logs
# the port at which the clients will connect
clientPort=2181
admin.serverPort=8081
server.1=172.26.0.130:2881:3881
# the maximum number of client connections.
# increase this if you need to handle more clients
#maxClientCnxns=60
#
# Be sure to read the maintenance section of the
# administrator guide before turning on autopurge.
#
# http://zookeeper.apache.org/doc/current/zookeeperAdmin.html#sc_maintenance
#
# The number of snapshots to retain in dataDir
#autopurge.snapRetainCount=3
# Purge task interval in hours
# Set to "0" to disable auto purge feature
#autopurge.purgeInterval=1
## Metrics Providers
#
# https://prometheus.io Metrics Exporter
#metricsProvider.className=org.apache.zookeeper.metrics.prometheus.PrometheusMetricsProvider
#metricsProvider.httpPort=7000
#metricsProvider.exportJvmInfo=true
配置项 说明
tickTime 用于计算的时间单元,以毫秒为单位,比如session超时:N*tickTime
initLimit 用于集群,允许从节点链接并同步到master节点的初始化连接时间,以tickTime的倍数来表示
syncLimit 用于集群,master主节点与从节点之间发送消息,请求和应答时间长度(心跳机制)
clientPort 连接服务器的端口,默认是2181
dataDir 快照日志目录,存放内存数据库快照的位置,必须配置
dataLogDir 事务日志目录,不配置则和dataDir共用
这里有个和网络教程不一样的地方
启动的客户端端口有和自己的服务端口有冲突
admin.serverPort=8081
集群部署
server.1=172.26.0.130:2881:3881
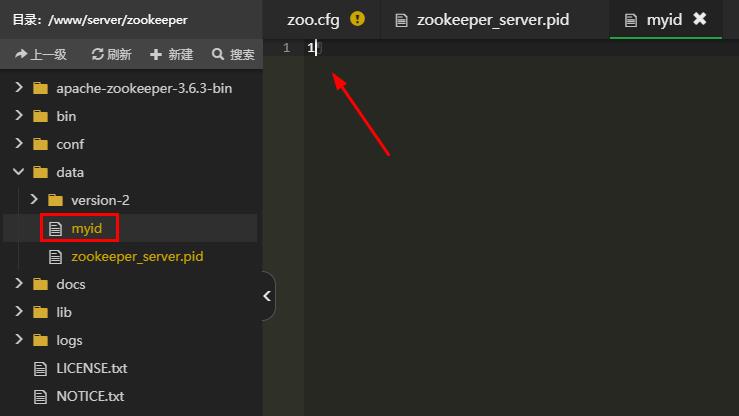
第五步: myid文件
进入data文件夹新建 myid文件
这里写的数字就是 server.1=172.26.0.130:2881:3881 server.1中的1
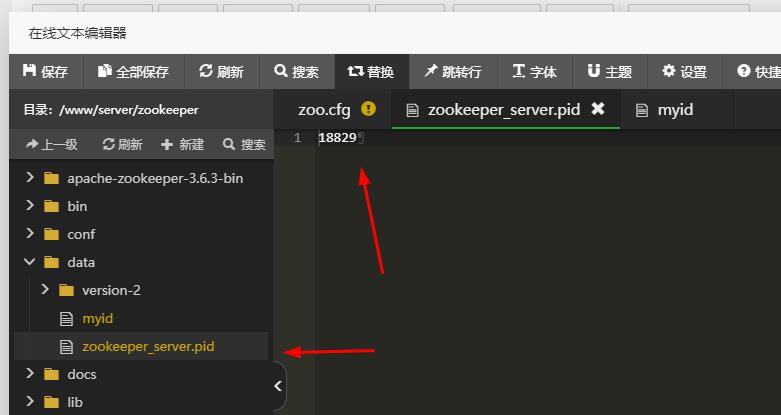
下面这个文件是自动生成的PID
zookeeper是建立在java基础的做所要先确定jdk的安装
echo $JAVA_HOME

然后把zookeeper的安装路径配置全局环境变量
vim /etc/profile
/etc/profile
#MQTT
export MQTT_HOME=/www/server/emqx
export PATH=$PATH:$MQTT_HOME/bin
#zookeeper
export ZOOKEEPER_HOME=/www/server/zookeeper
export PATH=$PATH:$JAVA_HOME/bin:$ZOOKEEPER_HOME/bin
# jdk1.8环境变量 java_home 是安装jdk的目录和版本号
export JAVA_HOME=/usr/java/jdk1.8.0_121
export JRE_HOME=${JAVA_HOME}/jre
export CLASSPATH=.:${JAVA_HOME}/lib:${JRE_HOME}/lib:$CLASSPATH
export JAVA_PATH=${JAVA_HOME}/bin:${JRE_HOME}/bin
编辑完记得刷新一下配置
source /etc/profile
第六步:启动
zkServer.sh start|stop|restart|status
启动:
zkServer.sh start
停止
zkServer.sh stop
重启
zkServer.sh restart
状态
zkServer.sh status
最后:验证zookeeper安装成功四字命令
telnet localhost 2181
输出结果:
Trying ::1...
Connected to localhost.
Escape character is '^]'.
直接向下输入
srvr
然后会显示zookeeper的信息:
Zookeeper version: 3.4.13-2d71af4dbe22557fda74f9a9b4309b15a7487f03, built on 06/29/2018 00:39 GMT
Latency min/avg/max: 0/0/1656
Received: 123962
Sent: 123780
Connections: 1
Outstanding: 0
Zxid: 0x2fa
Mode: standalone
Node count: 164
Connection closed by foreign host.
window下安装 zookeeper
第一步:下载安装包
第二步:解压
将下载的安装包解压到对应的路径下 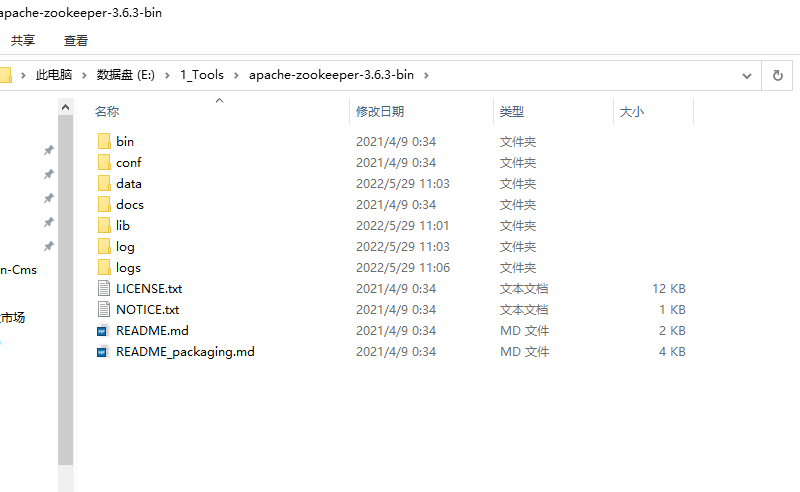
第三步:配置
将conf目录下的zoo_sample.cfg文件,复制一份,重命名为zoo.cfg
# The number of milliseconds of each tick
tickTime=2000
# The number of ticks that the initial
# synchronization phase can take
initLimit=10
# The number of ticks that can pass between
# sending a request and getting an acknowledgement
syncLimit=5
# the directory where the snapshot is stored.
# do not use /tmp for storage, /tmp here is just
# example sakes.

# the port at which the clients will connect
clientPort=2181
# the maximum number of client connections.
# increase this if you need to handle more clients
#maxClientCnxns=60
#
# Be sure to read the maintenance section of the
# administrator guide before turning on autopurge.
#
# http://zookeeper.apache.org/doc/current/zookeeperAdmin.html#sc_maintenance
#
# The number of snapshots to retain in dataDir
#autopurge.snapRetainCount=3
# Purge task interval in hours
# Set to "0" to disable auto purge feature
#autopurge.purgeInterval=1

## Metrics Providers
#
# https://prometheus.io Metrics Exporter
#metricsProvider.className=org.apache.zookeeper.metrics.prometheus.PrometheusMetricsProvider
#metricsProvider.httpPort=7000
#metricsProvider.exportJvmInfo=true
# 端口
admin.serverPort=8081
# 缓存数据路径
dataDir=E:\\1_Tools\\apache-zookeeper-3.6.3-bin\\data
# 日志路径
dataLogDir=E:\\1_Tools\\apache-zookeeper-3.6.3-bin\\logs
参数说明
# tickTime       客户端与服务器或者服务器与服务器之间维持心跳,也就是每个tickTime时间就会发送一次心跳。通过心跳不仅能够用来监听机器的工作状态,还可以通过心跳来控制Flower跟Leader的通信时间

# initLimit	       集群中的follower服务器(F)与leader服务器(L)之间初始连接时能容忍的最多心跳数

#syncLimit         集群中flower服务器(F)跟leader(L)服务器之间的请求和答应最多能容忍的心跳数

# dataDir          用来存放myid信息跟一些版本,日志,跟服务器唯一的ID信息等。

# dataLogDir       存放事务日志的文件夹

# clientPort       客户端连接的接口,客户端连接zookeeper服务器的端口,zookeeper会监听这个端口,接收客户端的请求访问!这个端口默认是2181。

# maxClientCnxns    允许连接的客户端数目,0为不限制,通过IP来区分不同的客户端
第四步: 验证zookeeper安装成功
bin目录
zkCli.cmd 验证是否安装成功 zkServer.cmd 启动zookeeper服务

出现如上图所示,即服务启动成功及zookeeper安装成功!!